We've taken the sweet, creamy Oreo Cookie ball to a new level of cuteness. Our easier-than-they-look dessert gems are sure to get "oohs" and "aahs" at your big event.
Prep time:
0 min
Total time:
0 h 0 min
Makes 48 servings
Ingredient list
1 pkg. (8 oz.) brick cream cheese, softened
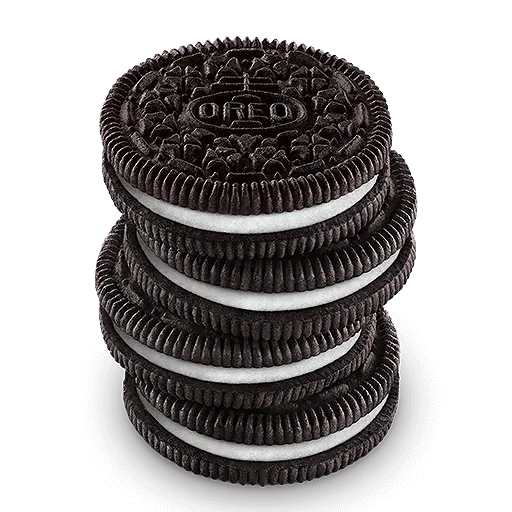
36 OREO Cookies, finely crushed
3½ pkg. (4 oz. each) white baking chocolate (14 oz.), divided
5 oz. semi-sweet baking chocolate, divided
Directions
1
Mix cream cheese and cookie crumbs until well blended.
2
Shape into 48 (1-inch) balls. Freeze 10 min. Meanwhile, melt 12 oz. white chocolate as directed on package.
3
Dip balls in melted chocolate; place in single layer in shallow waxed paper-lined pan. Refrigerate 1 hour or until firm.
4
Brides: MELT remaining white chocolate. Use small clean paint brush to paint 24 (1-inch) bridal veils on sheet of waxed paper, flaring each veil slightly at bottom. (Note: To prevent veils from breaking when removing them from the waxed paper, avoid using thin strokes of melted chocolate when painting the veils.) Refrigerate until firm. Meanwhile, pipe remaining melted white chocolate into 24 (3/4-inch-wide) tiaras onto waxed paper. (See Tip.) Refrigerate until firm.
5
MELT 1 oz. semi-sweet chocolate. Use to pipe chocolate onto balls for the eyes and mouths. Refrigerate until firm. Attach veil and tiara to each cookie ball with small dabs of melted chocolate. Refrigerate until ready to serve. (Note: For added sparkle, sprinkle veils and tiaras with white sanding sugar before chocolate sets up.)
6
Grooms: MELT remaining semi-sweet chocolate. Use toothpicks to dip remaining cookie balls, 1 at a time, in melted chocolate, dipping 1 side of each ball in chocolate, then turning to dip other side, leaving "V"-shaped white center; let excess chocolate drip back into bowl. Return to waxed paper-lined pan. Pipe remaining semi-sweet chocolate onto balls for the buttons and bow ties, placing the ties over the toothpick holes to cover. (Or, pipe buttons onto balls, then pipe bow ties onto waxed paper; refrigerate until firm. Attach bow ties over toothpick holes on balls with small dabs of melted chocolate.) Refrigerate until firm.
Recipe Tips
For A Beach Wedding
Serve cookie balls on large plate covered with crushed HONEY MAID Graham Crackers.
How to Easily Dip Cookie BallsTo easily coat cookie balls with the melted chocolate, add balls, in batches, to bowl of melted chocolate. Use 2 forks to roll balls in chocolate until evenly coated. Remove balls with forks, letting excess chocolate drip back into bowl. Place balls in prepared pan; let stand until chocolate coating is firm.
Nutrition factsNutrition information
Amount Per Serving
Calories
% Daily Value
Total Fat
Saturated Fat
Trans Fat
Cholesterol
Sodium
Total Carbohydrate
Dietary Fiber
Total Sugars
Includes Added Sugars
Protein
Vitamin D
Calcium
Iron
Potassium
Vitamin A
Vitamin C
The % Daily Value (DV) tells you how much a nutrient in a serving of food contributes to a daily diet. 2,000 calories a day is used for general nutrition advice.